Looking for a comforting, easy dish for a weeknight dinner? You’re in luck! Making a classic tuna casserole is easier than you think. It’s a great way to feed your family a tasty meal.
This beloved dish is a staple in many homes. It’s an easy tuna casserole that’s ready fast. It needs minimal prep and uses common ingredients you probably have.
Table of Contents
The History and Appeal of Classic Tuna Casserole
The story of classic tuna casserole is simple yet meaningful. It’s a dish that has become a big part of American cooking. It shows how home cooks used easy ingredients to make a tasty meal.
Tuna casserole started in the mid-20th century. Canned tuna was common in homes then. It was loved for being easy and cheap, perfect for families.
Origins of Tuna Casserole in American Cuisine
The rise of tuna casserole happened after World War II. People needed quick, affordable meals. Tuna, pasta, and canned soup were key ingredients. Recipes started showing up in books and magazines, making it more popular.
Over time, homemade tuna casserole got a personal touch. Families added their own ingredients or ways of cooking. This made it even more loved.
Why Tuna Casserole Remains a Family Favorite
So, why do people still love classic tuna casserole? It brings back memories of childhood. Its simple ingredients and easy prep make it a favorite for busy families.
Also, tuna casserole is very flexible. You can change it up with different veggies, cheeses, or spices. This keeps it fresh and exciting, always ready for a new twist.
Essential Ingredients for the Perfect Tuna Casserole
Making the perfect tuna casserole starts with picking the best ingredients. The quality of your dish depends on what you choose. We’ll look at the key ingredients for a tasty and creamy tuna casserole.
Selecting the Best Tuna
The tuna you pick is key for a great tuna casserole. You can use canned tuna in water or oil, based on your taste. Choose high-quality, sustainably sourced tuna for the best flavor and texture.
- Canned tuna in water: Lower in calories and fat
- Canned tuna in oil: Richer flavor and moist texture
Pasta Options and Alternatives
The pasta you pick affects the casserole’s texture and taste. Traditional choices include macaroni and egg noodles. But, you can try different shapes to find your favorite.
- Macaroni: Classic choice for tuna casserole
- Egg noodles: Adds richness and depth
- Other pasta shapes: Experiment with shells, elbows, or cavatappi
Creamy Base Components
A creamy tuna casserole needs a rich sauce. You’ll need condensed cream of mushroom soup, milk, and butter. Adding sour cream or Greek yogurt can make it even creamier.
- Condensed cream of mushroom soup: Adds depth and umami flavor
- Milk or cream: Adjust the consistency to your liking
- Butter: Enhances richness and flavor
Cheese Selections for Maximum Flavor
Cheese is crucial for the flavor of your tuna casserole. Cheddar is a popular choice, but you can try mozzarella, parmesan, or a mix.
- Cheddar: Sharp or mild, adds a rich flavor
- Mozzarella: Melts well and adds creaminess
- Parmesan: Adds a salty, nutty flavor
By choosing these essential ingredients, you’ll make a creamy tuna casserole that everyone will love.
Kitchen Equipment You’ll Need
Before you start making your cheesy tuna casserole, it’s essential to have the right kitchen equipment. The right tools make cooking smoother and ensure your casserole is perfectly cooked and delicious.
Casserole Dish Recommendations
The most critical piece of equipment for making tuna casserole is the casserole dish. You have several options to choose from, depending on your preferences and the number of servings you’re planning to make.
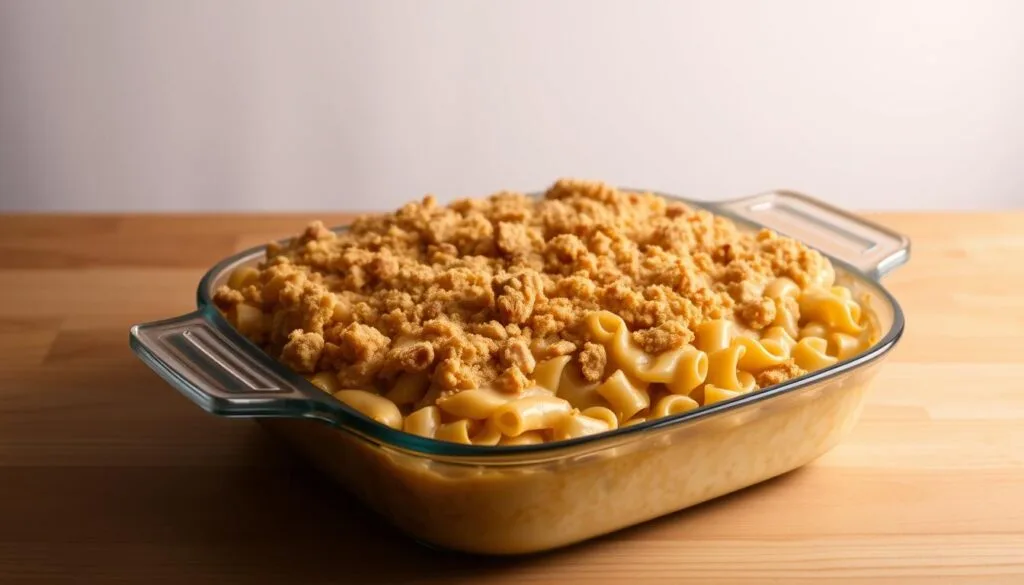
- Material Options: Casserole dishes come in various materials, including glass, ceramic, and metal. Glass dishes, like Pyrex, are popular because they allow you to see the casserole’s color and texture. Ceramic dishes retain heat well and can be used for both baking and serving. Metal dishes, especially those with a non-stick coating, are great for even heating and easy cleanup.
- Size Matters: Choose a dish that’s the right size for your recipe. A 9×13 inch dish is standard for most tuna casserole recipes, serving 6-8 people. If you’re cooking for a larger or smaller crowd, adjust the size accordingly.
Other Essential Tools
Apart from the casserole dish, you’ll need a few other basic kitchen tools to prepare your tuna casserole.
- Large Mixing Bowls: For combining your ingredients, you’ll need at least one large mixing bowl. Stainless steel or glass bowls are ideal as they are easy to clean and can be used for mixing both cold and hot ingredients.
- Cooking Utensils: A good set of cooking utensils, including a large spoon, spatula, and whisk, will be necessary for mixing and handling your casserole ingredients.
- Measuring Cups and Spoons: Accurate measurements are crucial in cooking. Ensure you have a set of measuring cups and spoons to get the ingredient ratios right.
- Pasta Cooking Pot: You’ll need a large pot to cook your pasta al dente. A pot with a heavy bottom can help prevent the pasta from burning.
By having these essential kitchen tools on hand, you’ll be well-prepared to make a delicious cheesy tuna casserole that’s sure to become a family favorite.
Preparing Your Ingredients

Before you start making your traditional tuna casserole, it’s essential to prepare your ingredients properly. This step ensures that your dish turns out flavorful and well-cooked.
Proper Measurement Techniques
Accurate measurements are crucial in cooking. Use the right tools like measuring cups and spoons. For dry ingredients like pasta and flour, level them off. When measuring liquids, place the measuring cup on a flat surface and check the level at eye height.
Tips for Measuring Ingredients:
- Use a digital scale for precise measurements.
- Measure ingredients in a well-lit area.
- Avoid packing down ingredients like flour.
Time-Saving Prep Methods
To save time, prepare some ingredients ahead. Chop onions and celery a day before and store them in airtight containers in the refrigerator. Another time-saving tip is to use canned tuna, which is already cooked and ready to use.
Prepping ahead not only saves time but also reduces stress when cooking.
| Ingredient | Prep Method | Time Saved |
|---|---|---|
| Onions | Chop a day before | 15 minutes |
| Canned Tuna | Ready to use | 10 minutes |
| Celery | Chop a day before | 10 minutes |
Pre-cooking Components
Some components of the tuna casserole may require pre-cooking. Cooking the pasta al dente before mixing it with other ingredients is essential. If you’re using fresh vegetables that release a lot of water, such as mushrooms, sautéing them before adding to the casserole can help prevent a soggy texture.
By following these preparation tips, you’ll be well on your way to making a delicious traditional tuna casserole.
Step-by-Step Tuna Casserole Recipe
This guide will help you make a delicious tuna casserole. It’s easy to follow and will make a family favorite.
Cooking the Pasta to Al Dente
First, cook your pasta as the package says until it’s al dente. This takes about 8-10 minutes, depending on the pasta. Macaroni is the best choice for a classic tuna casserole.
Check the pasta often towards the end. It should still be a bit firm in the middle when you bite into it.
Creating the Creamy Sauce
While the pasta cooks, make the creamy sauce. In a big saucepan, mix canned tuna, cream of mushroom soup, and milk. Stir until it’s smooth and hot.
You can add diced onions, garlic, or herbs like thyme or parsley. This makes the sauce taste better. It’s optional but nice.
Combining All Ingredients
When pasta and sauce are ready, mix them together. In a big bowl, combine cooked pasta, tuna sauce, and shredded cheese. Stir until the pasta is well coated.
| Ingredient | Quantity |
|---|---|
| Pasta (macaroni) | 1 cup |
| Canned tuna | 1 can (drained) |
| Cream of mushroom soup | 1 can |
| Milk | 1/2 cup |
| Shredded cheese | 1 cup |
Topping Options for Extra Crunch
For the topping, use crushed crackers or breadcrumbs with melted butter. This adds crunch. Sprinkle it over the casserole before baking.
By following these steps, you’ll make a delicious tuna casserole. Enjoy making and eating it!
Baking Your Tuna Casserole to Perfection
To make your homemade tuna casserole perfect, baking is key. It’s where all the flavors come together. This turns the dish into a warm, comforting meal.
Optimal Temperature Settings
First, preheat your oven to the right temperature. For most tuna casseroles, 350°F (175°C) is best. This heat cooks the casserole evenly. It makes sure the pasta is coated in creamy sauce and the top is golden.
Timing Guidelines for Different Sized Casseroles
The baking time changes with the casserole size. A standard 9×13 inch dish takes 25-35 minutes. For smaller or larger dishes, adjust the time. Smaller dishes might need 20 minutes, while bigger ones could take up to 45.
Visual Cues for Doneness
Look for visual signs to know if it’s done. The top should be golden, and the sauce should bubble. For a crisper top, broil for 2-3 minutes after baking. Watch closely to avoid burning.
By following these tips, you’ll bake your tuna casserole to perfection. It will be a dish that’s both satisfying and tasty.
Delicious Variations of Traditional Tuna Casserole
Looking to spice up the classic tuna casserole? There are many tasty variations to try. You can add new flavors and ingredients to make it your own. This way, it can fit your taste or dietary needs perfectly.
Mediterranean-Inspired Version
For a Mediterranean twist, add Kalamata olives, artichoke hearts, and sun-dried tomatoes. Feta cheese adds a tangy touch. Use olive oil and lemon juice for extra flavor. Serve it with warm pita bread or a green salad.
Spicy Southwest Twist
Want something spicy? Try a Spicy Southwest Tuna Casserole. Add diced jalapeños or green chilies to the sauce. Mix in cooked chorizo or pepper jack cheese for more flavor. Top it with crushed tortilla chips for crunch.
Healthier Alternatives
For a healthier tuna casserole, use whole wheat pasta and add more veggies like spinach or bell peppers. Use low-fat yogurt instead of cream or mayonnaise. Add chopped nuts or seeds on top for crunch and nutrition.
Gluten-Free Options
Make a gluten-free tuna casserole with gluten-free pasta. Check the labels of your canned tuna and other ingredients. Use gluten-free cream soups or make your own sauce. This way, it’s safe for those with gluten intolerance.
Storing and Reheating Your Homemade Tuna Casserole

Proper storage and reheating keep your tuna casserole delicious for days. Whether it’s creamy tuna casserole or cheesy tuna casserole, handling it right is crucial. This helps keep its taste and texture perfect.
Refrigeration Guidelines
Let your tuna casserole cool down before covering it. Use plastic wrap or aluminum foil. It can stay in the fridge for three to four days. When you’re ready, reheat it using the methods below.
Freezing for Later Use
Freezing is a good option if you won’t eat it soon. Cool it down first, then put it in airtight containers or freezer bags. Make sure to remove air before sealing. Label it with the date and what’s inside. Frozen tuna casserole lasts up to three months.
Best Reheating Methods
There are several ways to reheat your tuna casserole. Choose what works best for you and what you have.
- Oven Reheating: Heat your oven to 350°F (175°C). Cover it with foil to keep it moist. Heat for 20-25 minutes, or until it’s warm.
- Microwave Reheating: For quicker reheating, use the microwave for individual portions. Cover with a microwave-safe lid or plastic wrap. Heat on medium for 2-3 minutes, stirring as needed.
By following these tips, you can enjoy your homemade tuna casserole for many meals. It saves time and reduces waste.
Conclusion
Making a traditional tuna casserole at home is easy and rewarding. It creates a delicious, comforting meal that everyone will love. By following the steps in this article, you can make a homemade tuna casserole that suits your taste.
You’ve learned about the key ingredients, kitchen tools, and how to prepare a classic tuna casserole. With the step-by-step recipe and baking tips, you’re set to make your own tasty tuna casserole. Try different variations, like Mediterranean or spicy southwest, to keep your meals interesting.
Now, it’s time to start cooking. Get your ingredients ready, preheat your oven, and make your own traditional tuna casserole. With practice, you’ll become great at making a delicious tuna casserole that everyone will enjoy.